 ( 041 ) 1-May-2014
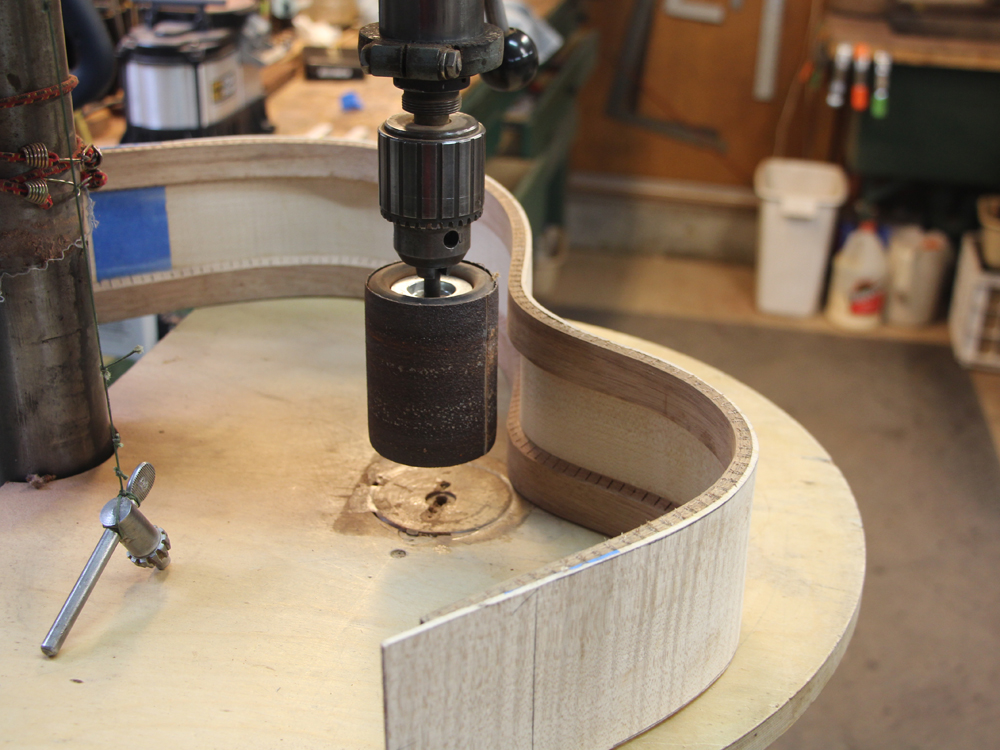
Here I am cleaning up the inside of the sides.
for Mark R.
( 041 ) 1-May-2014
Here I am cleaning up the inside of the sides.
 ( 042 ) 1-May-2014
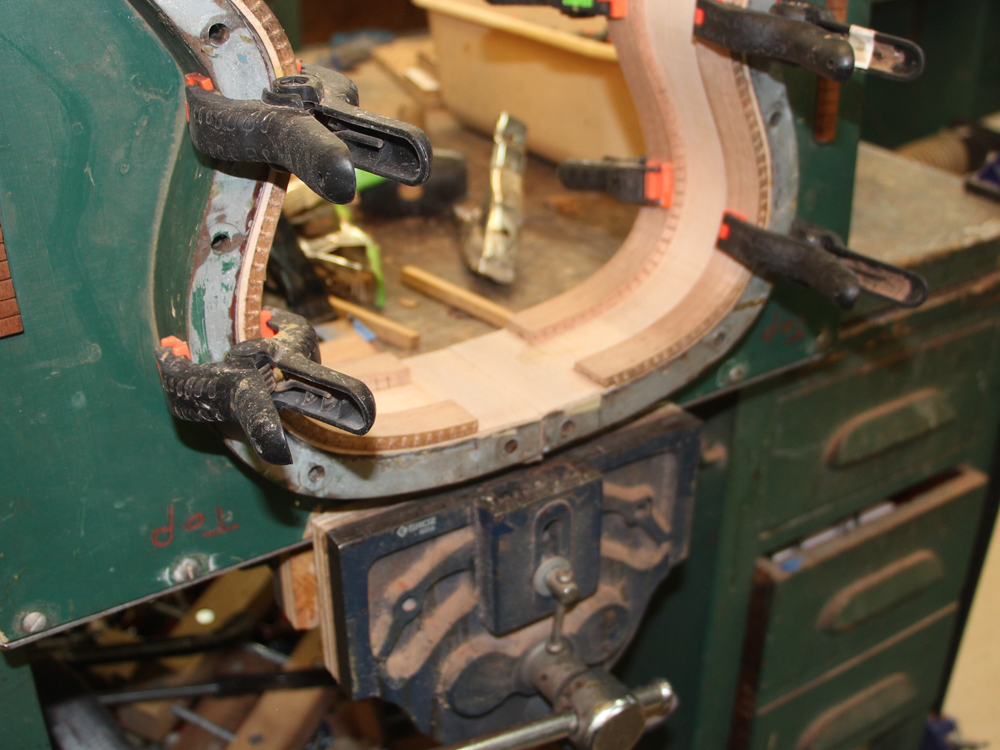
And then I trim off the ends to match the form.
 ( 043 ) 1-May-2014
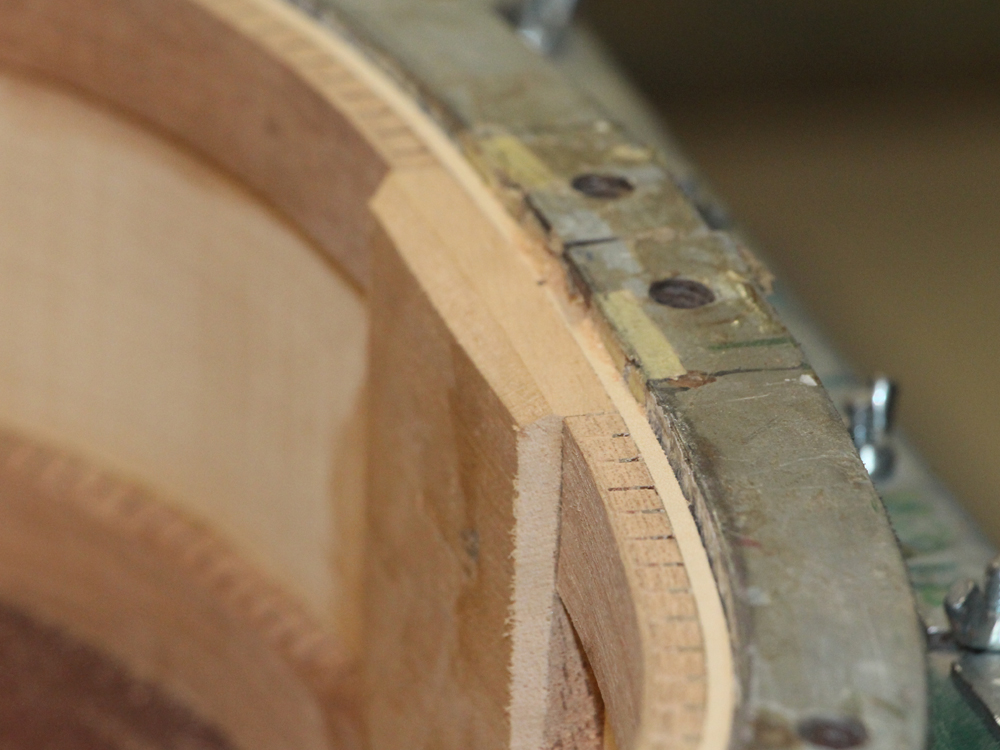
The shape of the guitar sides is not flat where he sides are joined, so I use this tool to match the heel block and the tail block to the curve of the sides.
 ( 044 ) 1-May-2014
I trim away the kerfing where the heel block will go.
 ( 045 ) 1-May-2014
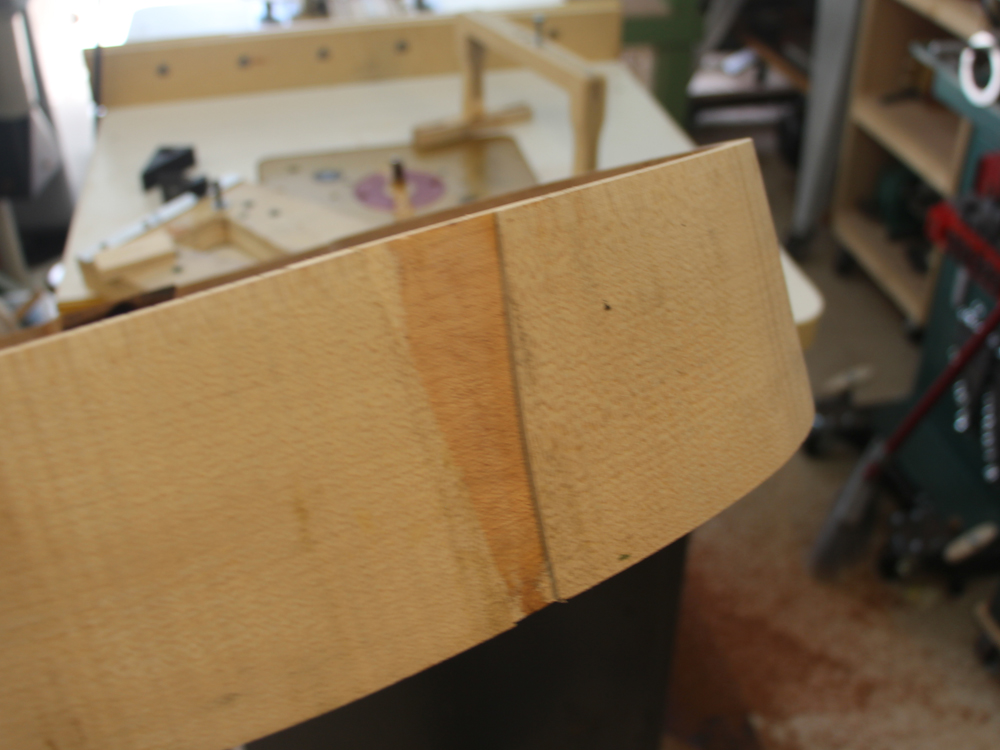
And then use the heel block to join the two halves together.
 ( 046 ) 1-May-2014
The process is repeated for the tail block.
 ( 047 ) 1-May-2014
And now we have the rim in the rough.
 ( 048 ) 1-May-2014
The edges of the rim are sanded down to match the shape of the top and back. I use a sanding sheet placed on the top and back forms and run the rim over it until the rim matches the form.
 ( 049 ) 1-May-2014
And then a little detailing finishes the job.
 ( 050 ) 1-May-2014
I bevel the tailblock so it matches the width of the kerfing.
 ( 051 ) 1-May-2014
 ( 052 ) 1-May-2014
Here I have set up the router table to route out the heel channel.
 ( 053 ) 1-May-2014
The heel channel will hide all of the attachment / adjustment hardware.
 ( 054 ) 1-May-2014
And thetail graft gets a shallow channel.
 ( 055 ) 1-May-2014
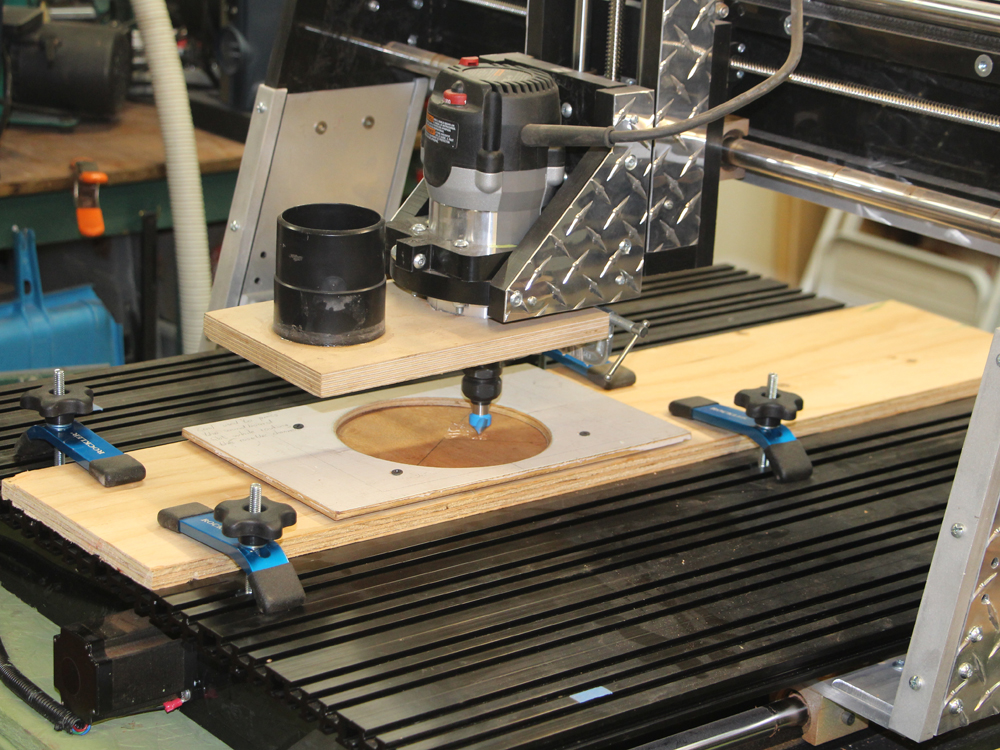
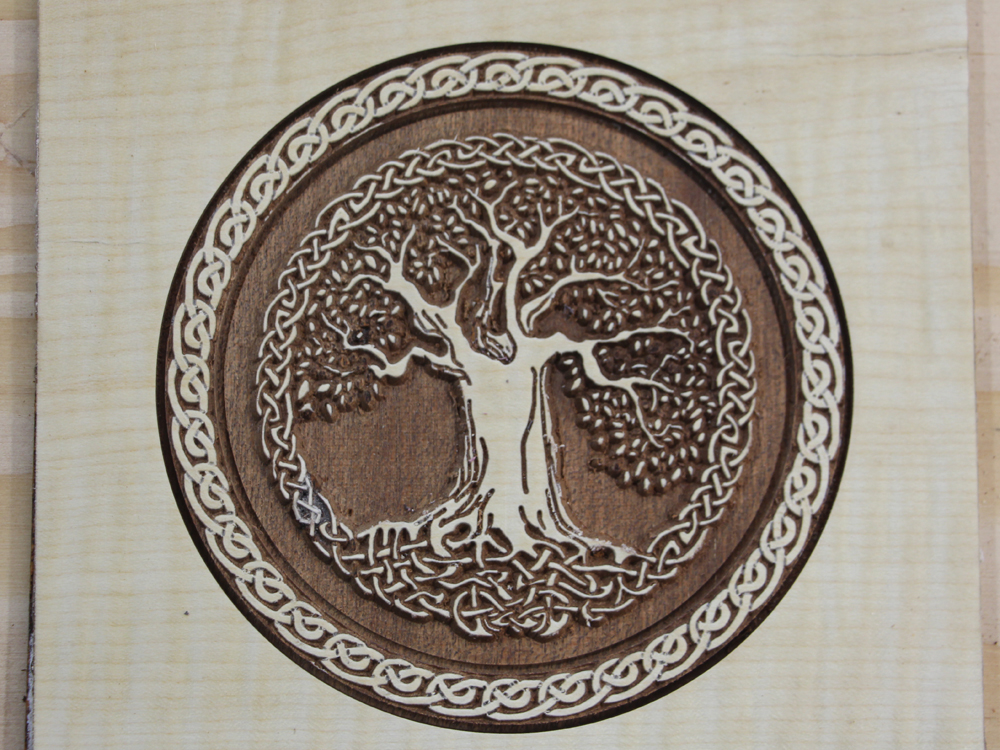
I am using my CNC router to create the rosettes.
 ( 056 ) 1-May-2014
A proper Celtic theme.
 ( 057 ) 1-May-2014
Now I turn my attention to making the braces. I use a template to start the process.
 ( 058 ) 1-May-2014
And fine tune them on the sanding forms. This piece will become both legs of the X-brace.
 ( 059 ) 1-May-2014
Next I drill the holes for the webbing.
 ( 060 ) 1-May-2014
And ten I use the router to route out the side channels.
 ( 061 ) 1-May-2014
This piece will get split in half and trimmed, but you can see the I-beam shape that will result in a light and stiff brace.
 ( 062 ) 1-May-2014
And here I have laid out he back braces.
 ( 063 ) 1-May-2014
In this picture I am laying out the rosette.
 ( 064 ) 1-May-2014
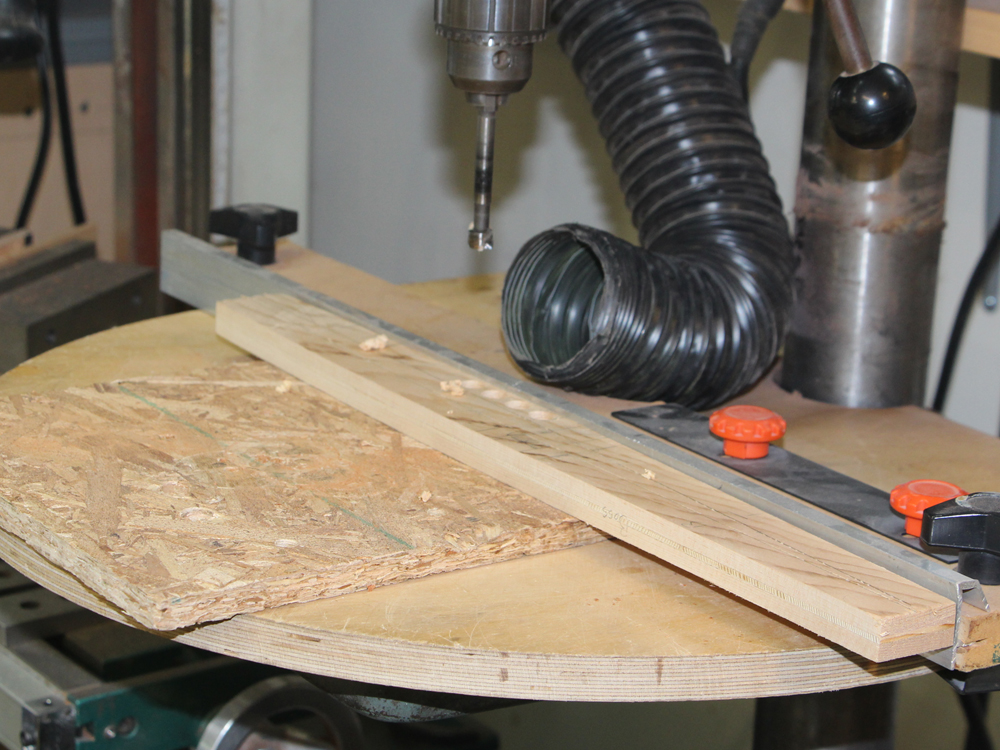
I trim off the excess from the top plate with my band saw.
 ( 065 ) 1-May-2014
And ten I use the milling machine to route out the channels for the rosette.
 ( 066 ) 1-May-2014
Nice precise channels.
 ( 067 ) 1-May-2014
And then I glue in the rosette and the borders.
 ( 068 ) 1-May-2014
Finally I use the drum sander to reduce the top plate to its working thickness.
 ( 069 ) 1-May-2014
And cut out the sound hole.
 ( 070 ) 1-May-2014
Next I start gluing the back braces in place using my go-box.
 ( 071 ) 1-May-2014
Lots of go-sticks.
 ( 072 ) 1-May-2014
And then the contra-rosette and the center strips get glued in place.
 ( 073 ) 1-May-2014
 ( 074 ) 1-May-2014
 ( 075 ) 1-May-2014
Here I am using the band saw to cut the channels for the lap joint in the X-braces.
 ( 076 ) 1-May-2014
They fit snuggly together at just the right angle.
 ( 077 ) 1-May-2014
And then a bit of work shaping the tone braces.
 ( 078 ) 1-May-2014
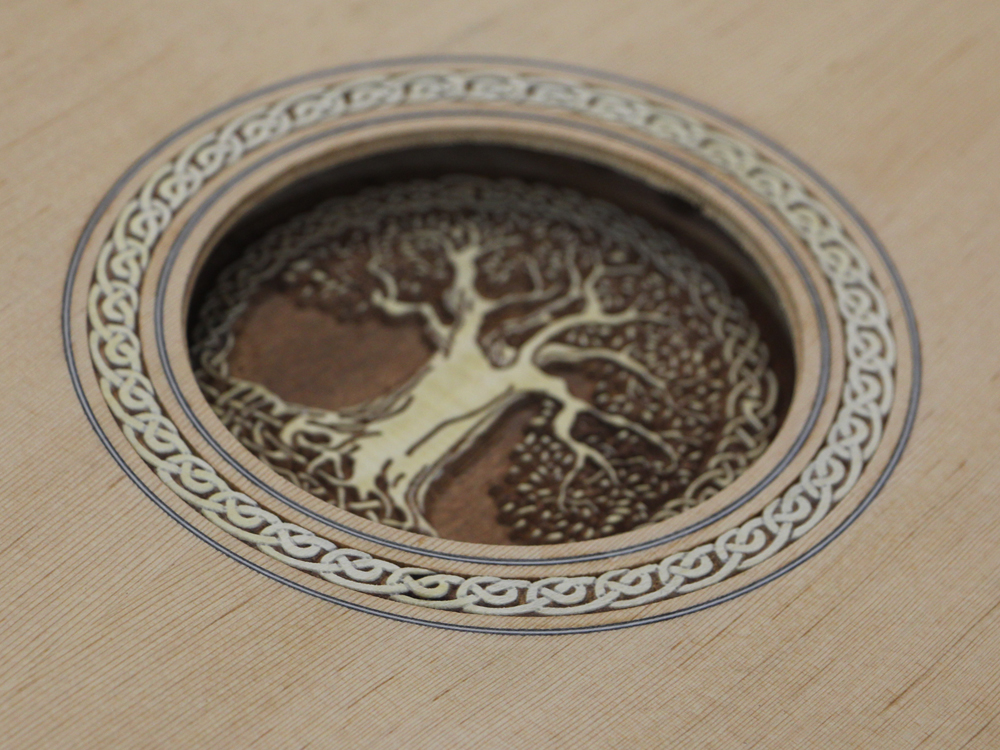
Hey, a quick look at the Rosettes.
 ( 079 ) 1-May-2014
I have to precisely position the braces when I glue them in place, so I use a set of fiducial buttons that will get glued to the back of the top to do this. Here I have place a small dowel in a hole I have drilled in the bottom of the braces. I place a small drop of glue on the end of the dowel.
 ( 080 ) 1-May-2014
And then carefully place the braces in position. When I pull the braces away the button remains in place, so after sanding down the buttons a bit, I can return the brace to its exact position.
 ( 081 ) 1-May-2014
I place the rim on top of the braces and mark the spot where it intersects the rim. I want a tight fit between the rim and braces.
 ( 082 ) 1-May-2014
The A-frame brace gets fitted to the X-brace.
 ( 083 ) 1-May-2014
And after the rim is placed the A-frame braces get marked.
 ( 084 ) 1-May-2014
Here are all of the braces ready to be glued in place.
 ( 085 ) 1-May-2014
Into the Go-box.
 ( 086 ) 1-May-2014
More sticks more better.
 ( 087 ) 1-May-2014
After the glue has set.
 ( 088 ) 1-May-2014
And then the sound hole reenforcing ring gets trimmed up.
 ( 089 ) 1-May-2014
And here are the body pieces almost ready to be glued together.